Building Fast NodeJS apps with Amplication
Amplication generates an automated NodeJS backend with Low Code
Before we dive into Amplication, it is important to ask ourselves this question: “What does it take to develop a Full-Stack NodeJS app?” Well.. alot. We’ll need to set up a Mongo or SQL database that would require us to create our own entities and form relationships, use Express to help model the API, set up Authentication, Oh man.. should I go on? This can be a daunting and time consuming process for someone looking to engineer an application quickly, due to the sheer amount of tool set required.
Software that enables developers to instantly create a backend goes a long way in reducing time spent implementing the same processes when creating a server-side application from scratch.
Understanding Amplication
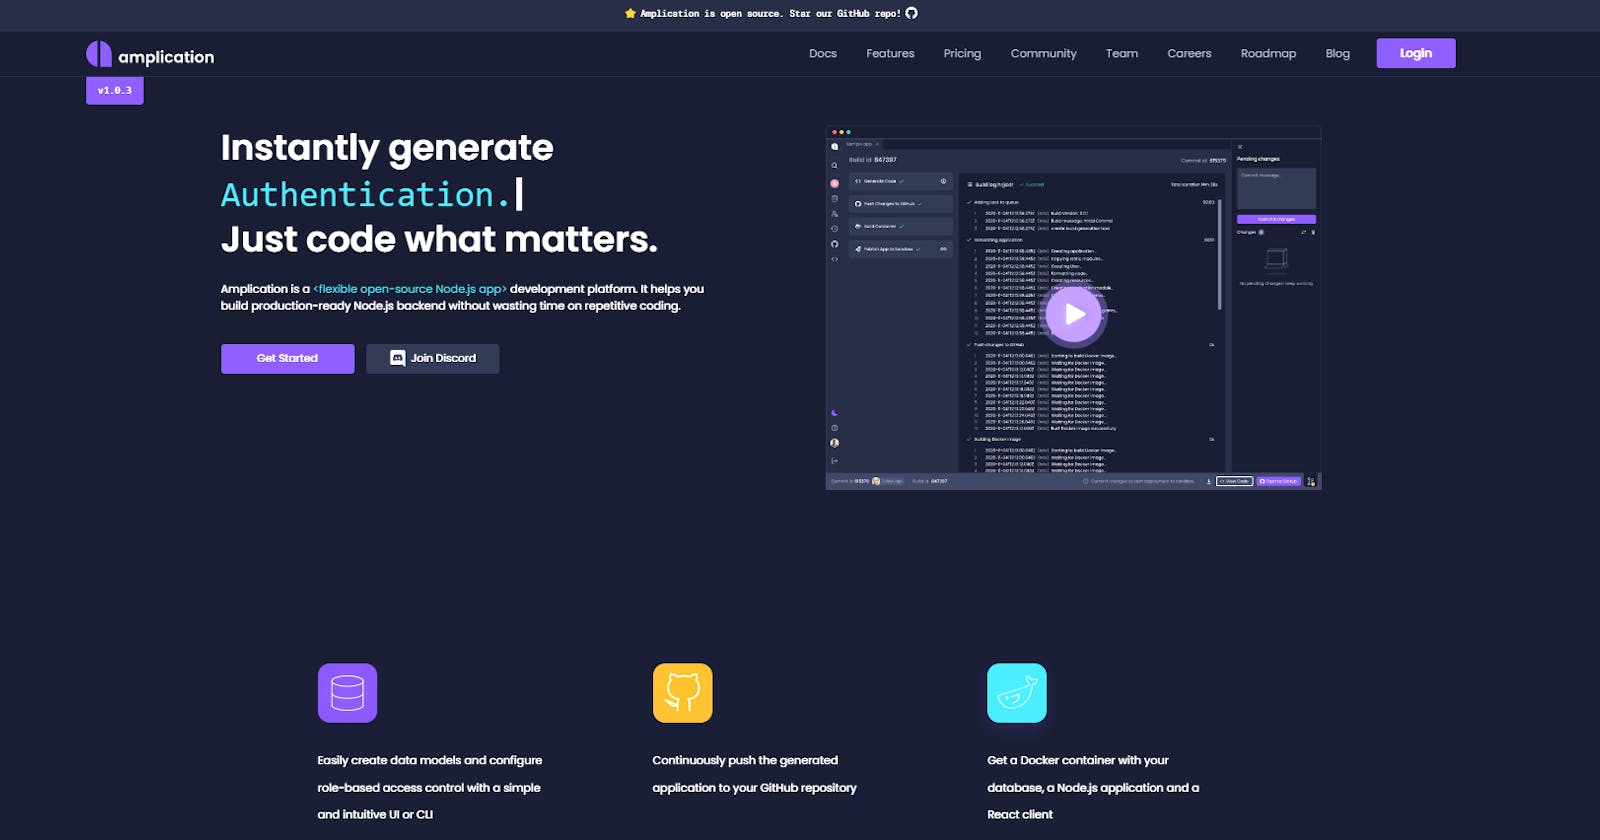
Amplication is an open-source software that automatically creates a production-ready backend for any NodeJS application. It allows users to easily form data models, assign roles and define who has access to different parts of the application. In a few minutes, it is able to generate GraphQL and REST API endpoints together with a React-Admin UI. How awesome is that?
So how do we use Amplication?
To start working with Amplication developers can create an account on the Amplication website, model their data and push the changes to Github. We can clone the newly created backend and use Docker to run the application on our local machine. This is the awesome thing about this software as you have the codebase with you and can customize it however you want.
Let’s take a look at how we can fully automate an Inventory Management System for a small shop with Amplication.
Build an Inventory Management System with Amplication
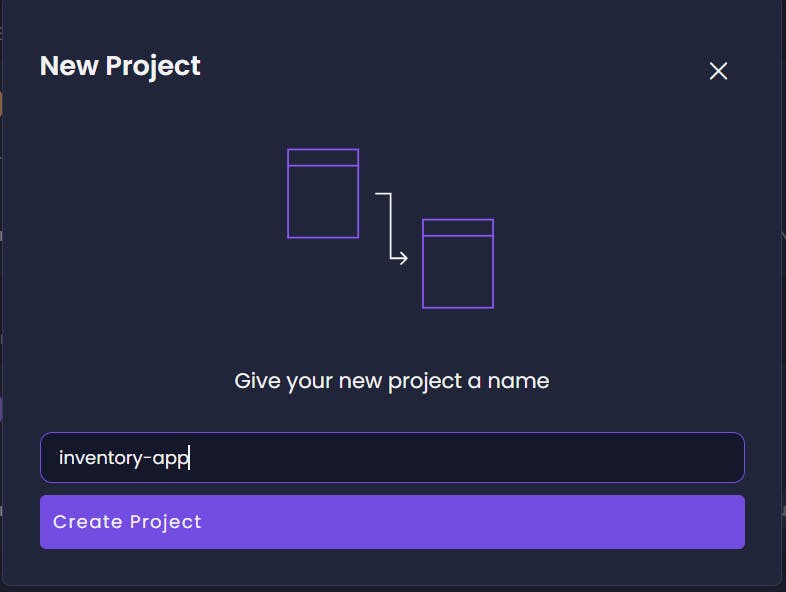
In the Amplication dashboard, we’ll create a new project called inventory-app.
 From there click on add resource then select service to be redirected to this page.
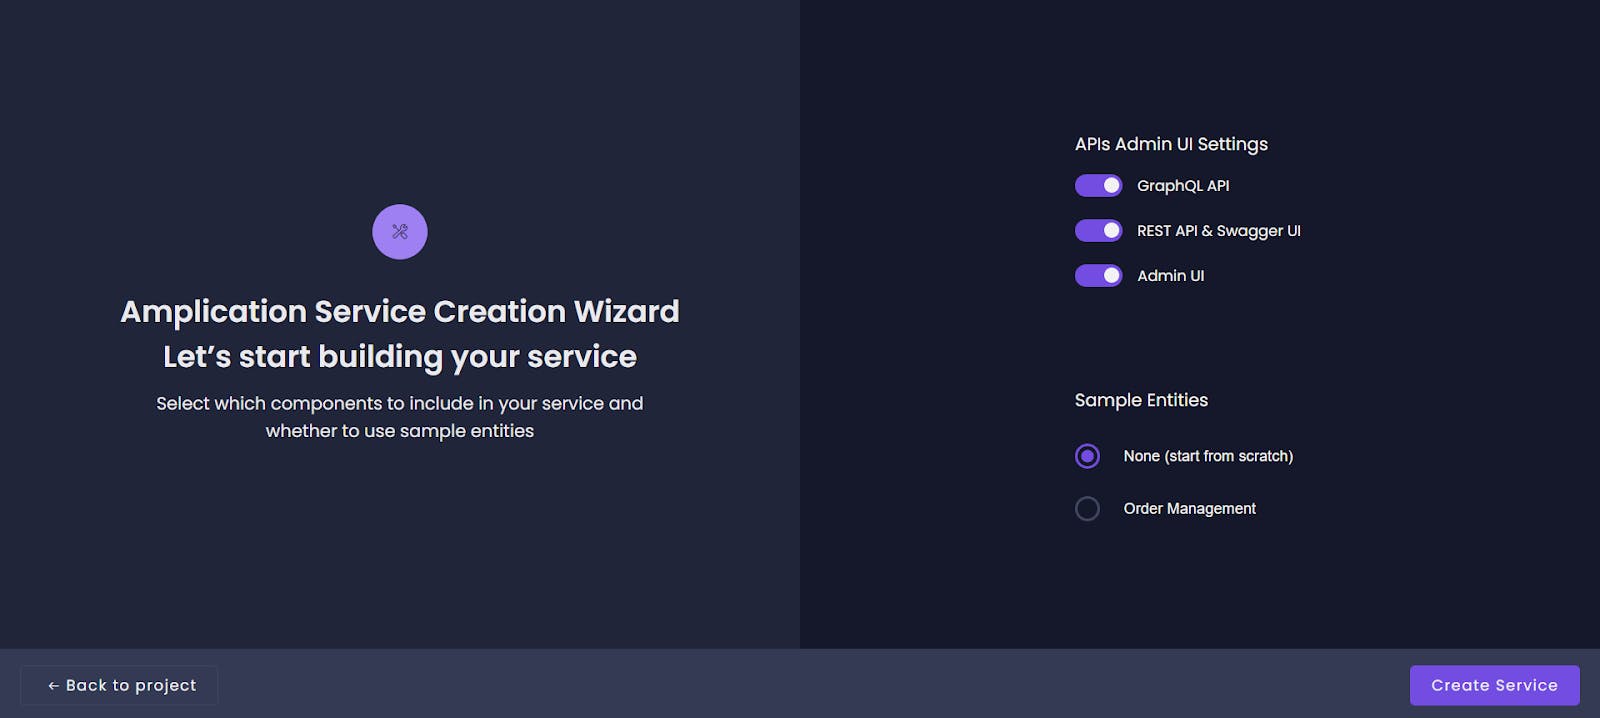 Here, we have both GraphQL and REST API endpoints already defined with an option to create an Admin UI. I will allow all options and we can click on start from scratch to build an empty project.
Inside the inventory–app, we’ll click on the Github logo to sync our changes to a repository and we can begin creating our tables.
In the entities section, click on add entry and type products to create a products table. We’ll add name, description, price and quantity as the fields for this entity. Data types can be set depending on what type of field entity we have.
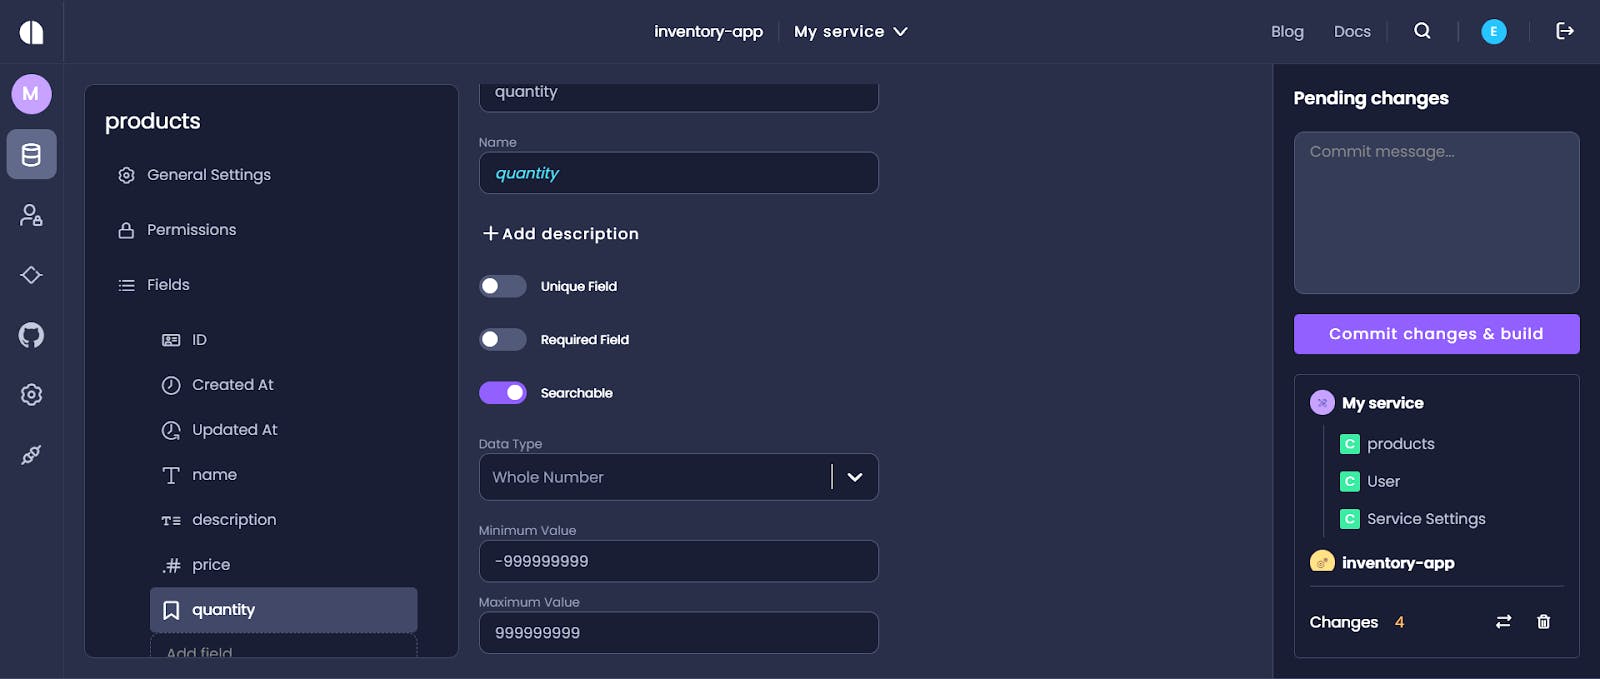
We’ll create another table called suppliers and repeat the steps above. It is also important to note that Amplication automatically provides a user entity for every new resource created.
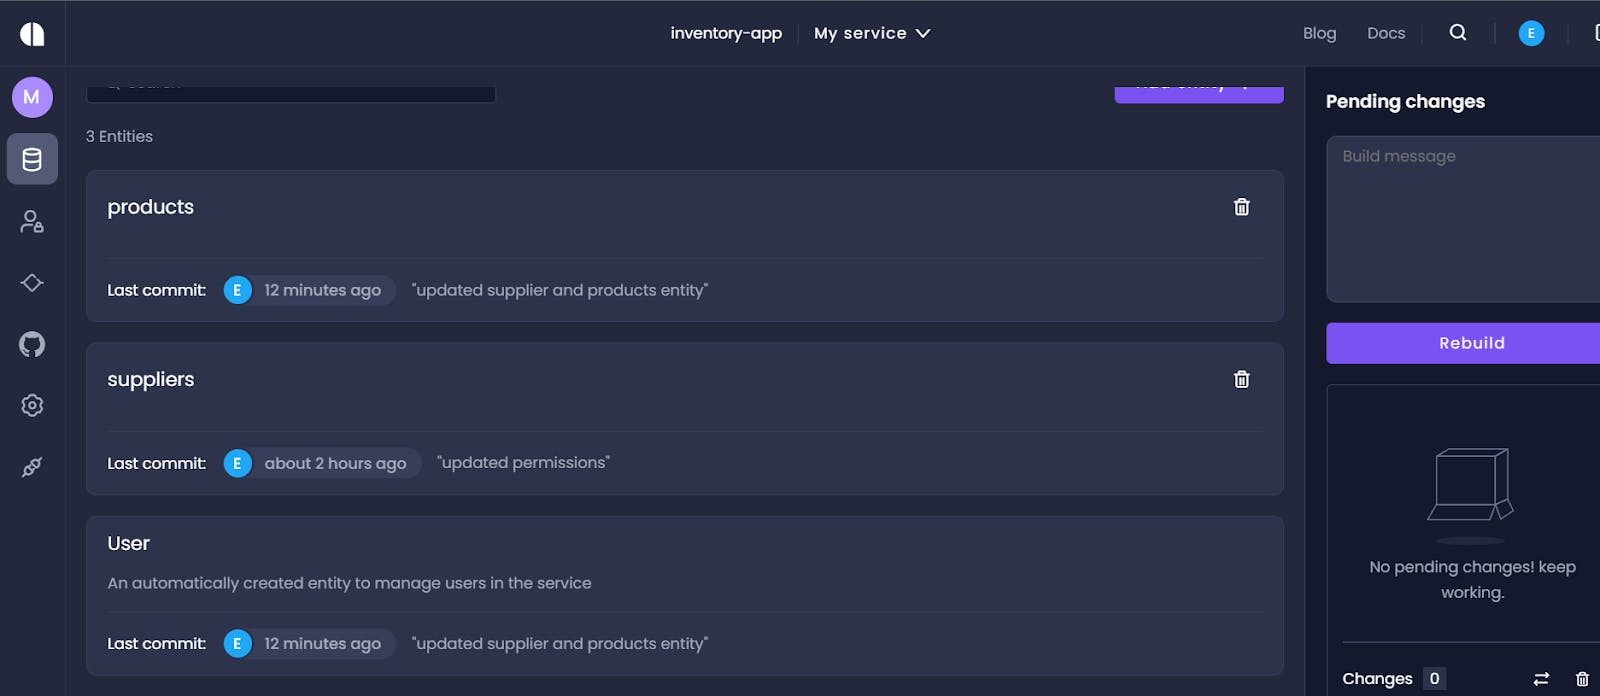
Here is a list of our entities
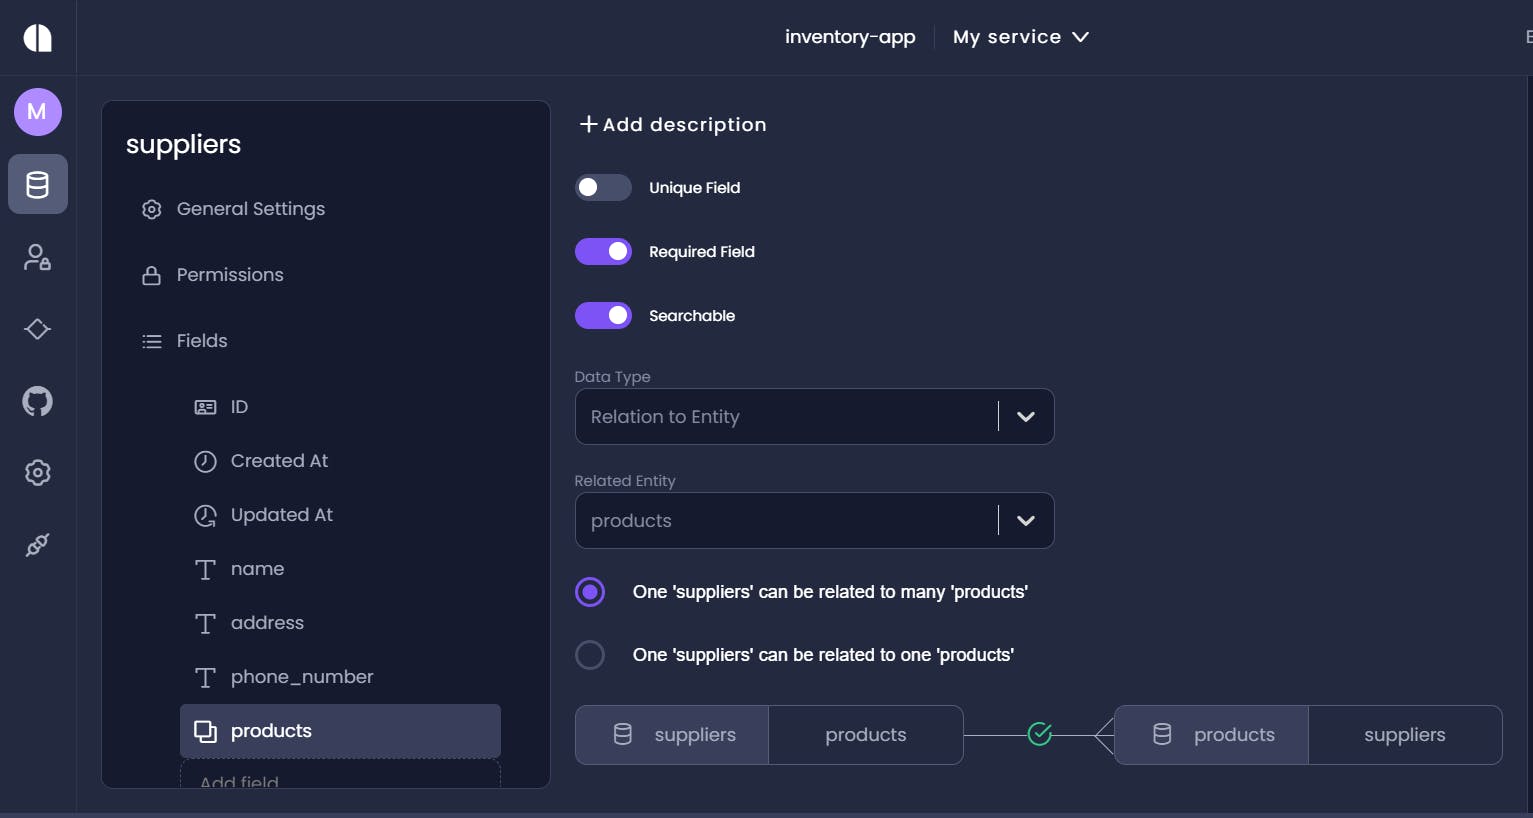
 Now we’ll form relationships between the supplier entity and products entity. From my guess, it should be a one to many relationship between a product and suppliers. Let’s see if Amplication get’s it correct 😅
In the suppliers table we'll create a new field called products
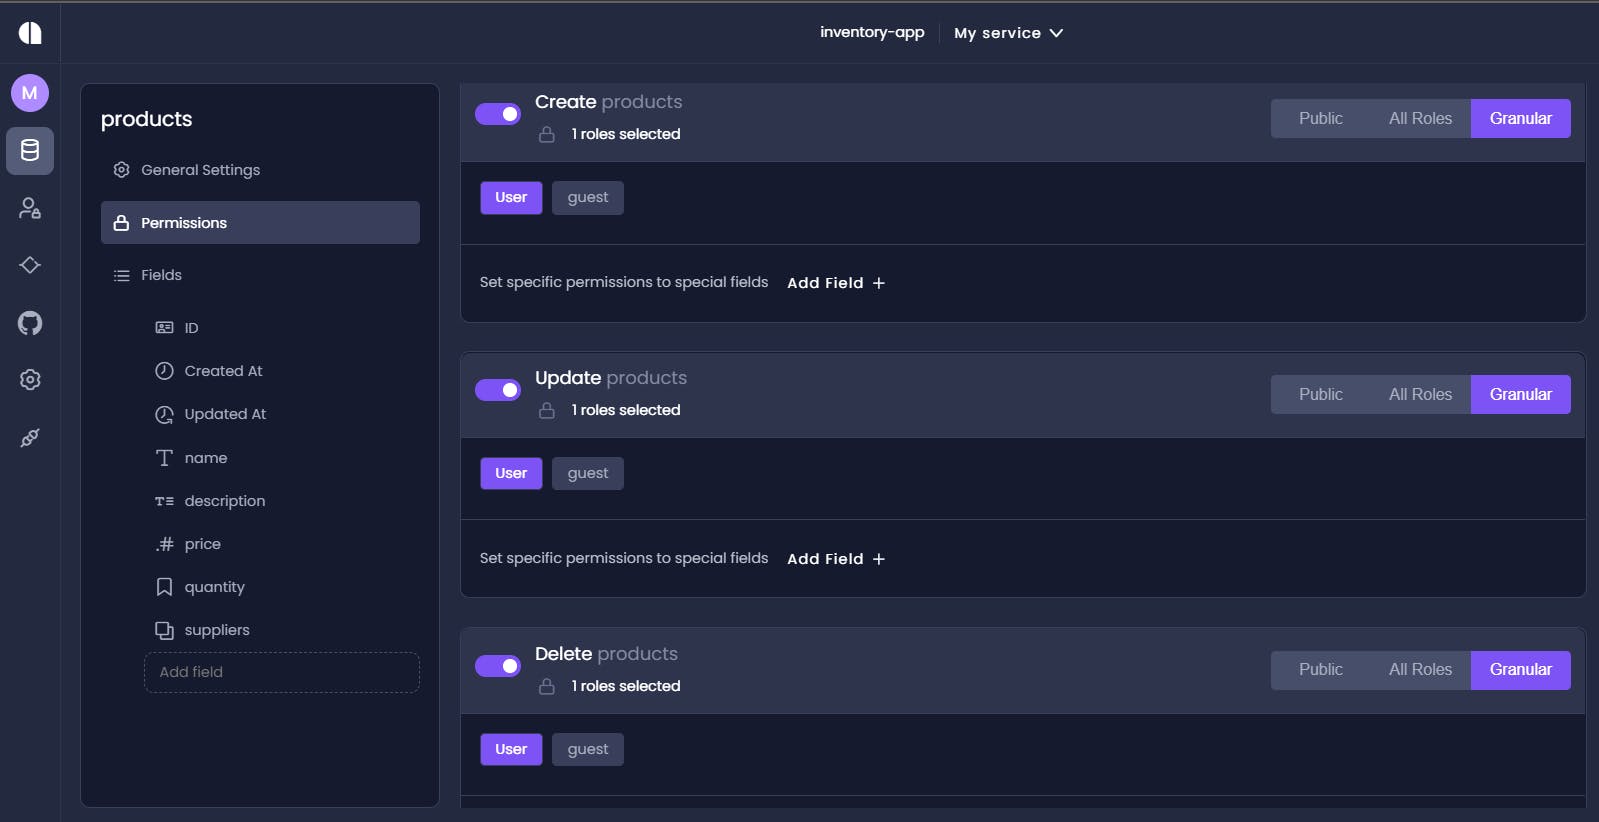
In the Roles section we’ll update permissions for both tables to control creating, updating, and deleting. You can customize it to your preferences.
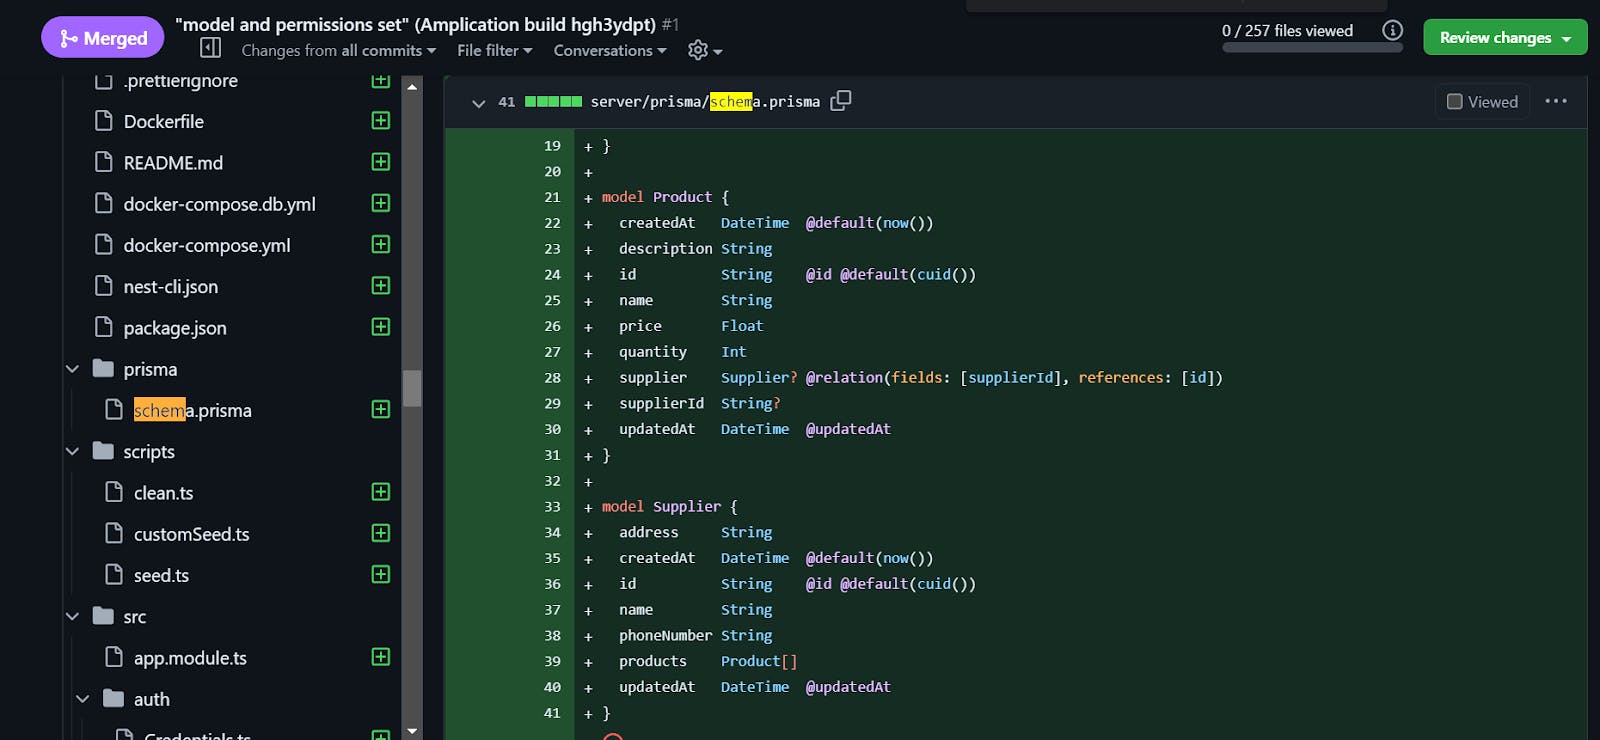
I think that’s all the changes we need inside the data model and we’ve set our permissions. Let’s proceed to commit the changes and merge them from Github.
Running the Inventory Application
To run the application, we’ll cd into the server, install config files, run docker and start the app using these commands:
- npm install
- npm run docker:db
- npm run prisma:generate
- npm run db:init
- npm start
Docker will run a PostgreSQL image which contains our database

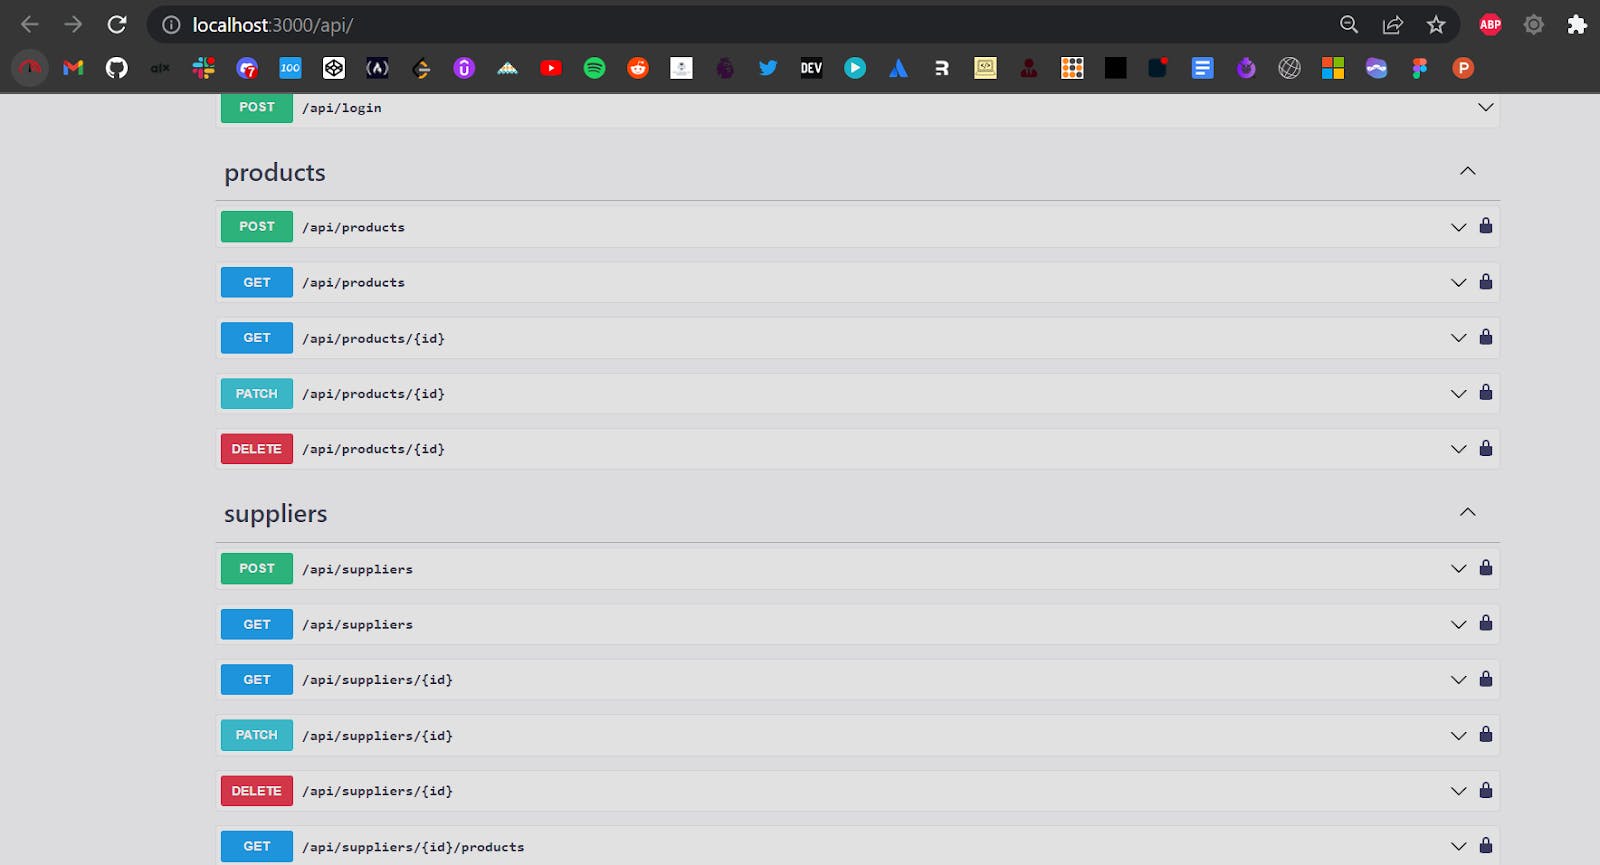
Here’s our server fully generated for us and we can access the REST API on localhost:3000/api
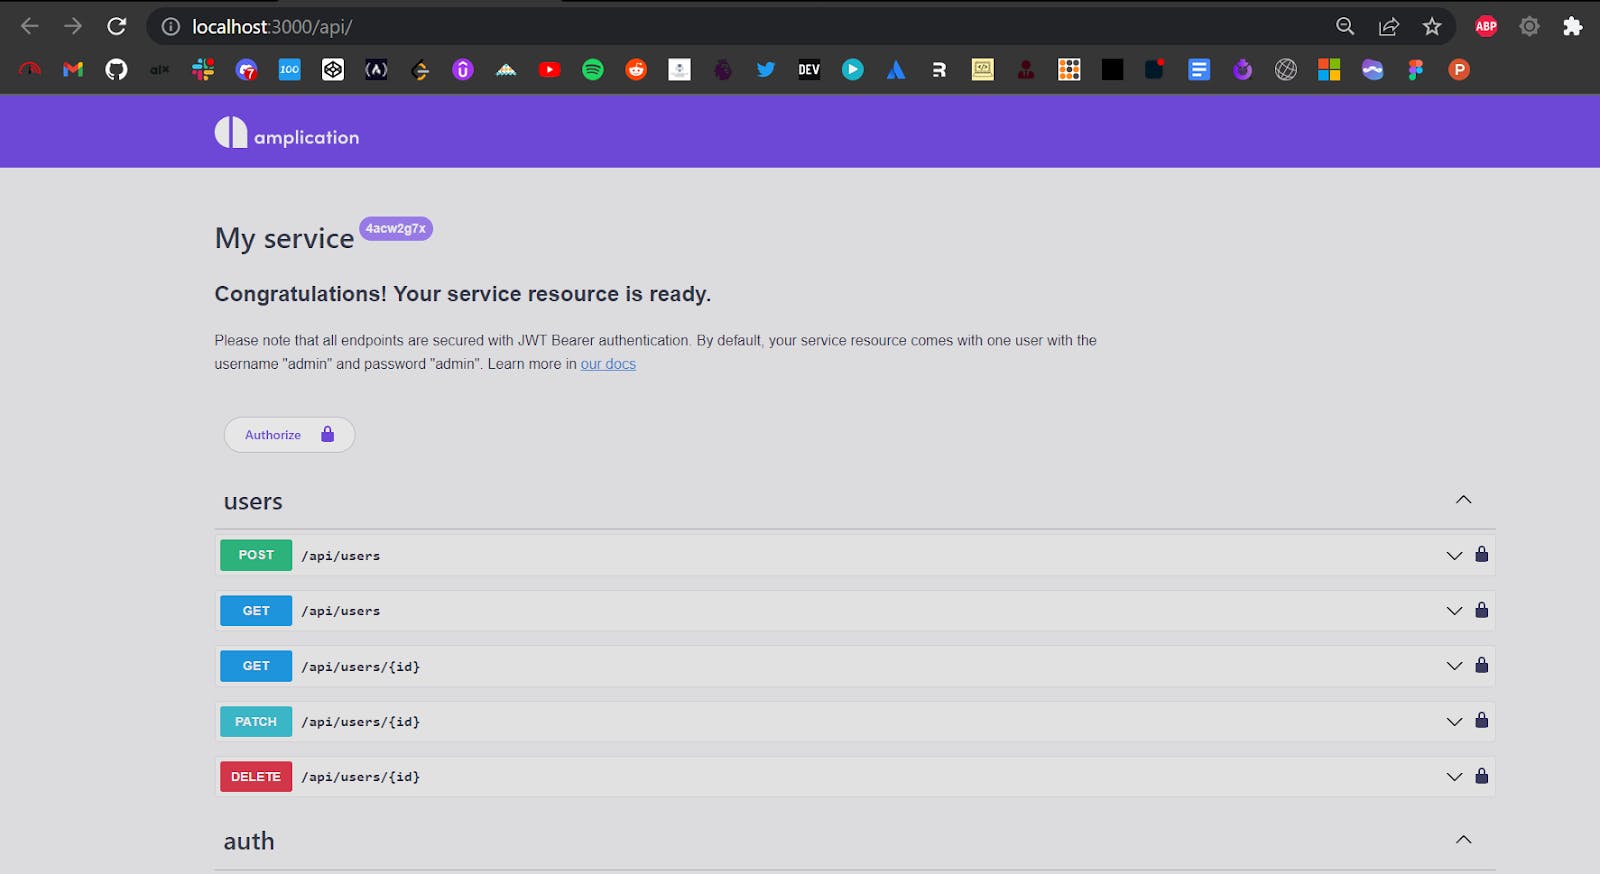 Look at how beautiful our endpoints look 👏🏾
To load the UI, cd into the admin-ui folder and run npm install then npm start. The login page should load on localhost:3001
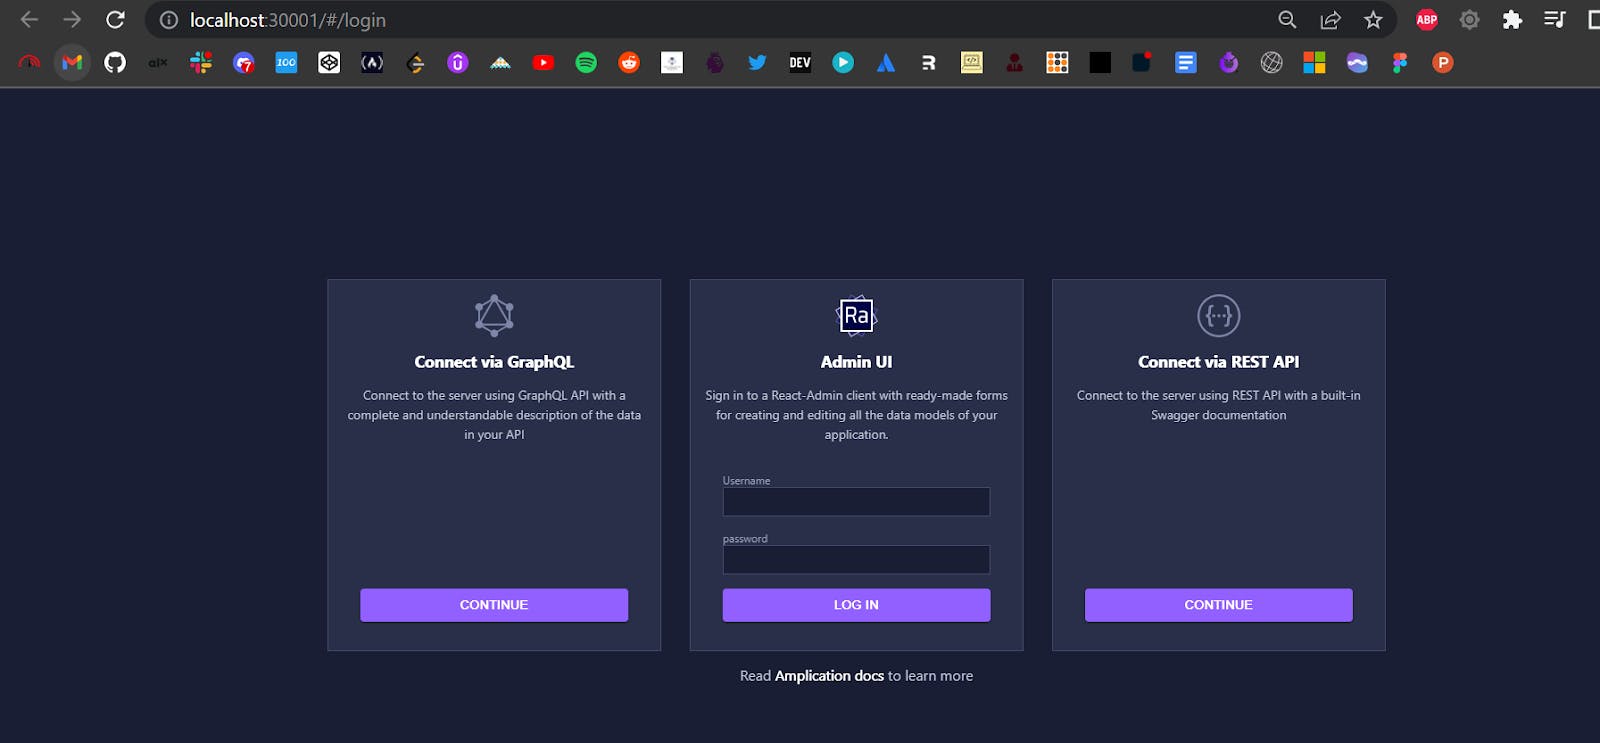 Finally we can log in with the credentials username “admin”, password “admin” to view our dashboard. We’ll be able to see all our entities and perform CRUD operations.

Create Read Update Delete (CRUD)
In our new app, the admin can now add employees as users who will be given different permissions for managing the inventory of our shop. We can add new products and suppliers.
Let’s add some new products
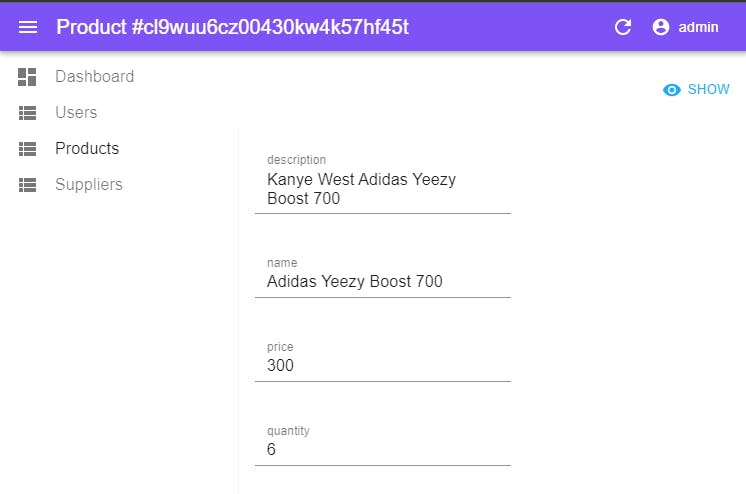 In the suppliers table we’ll add Adidas to the list so that we can relate it to our newly created product
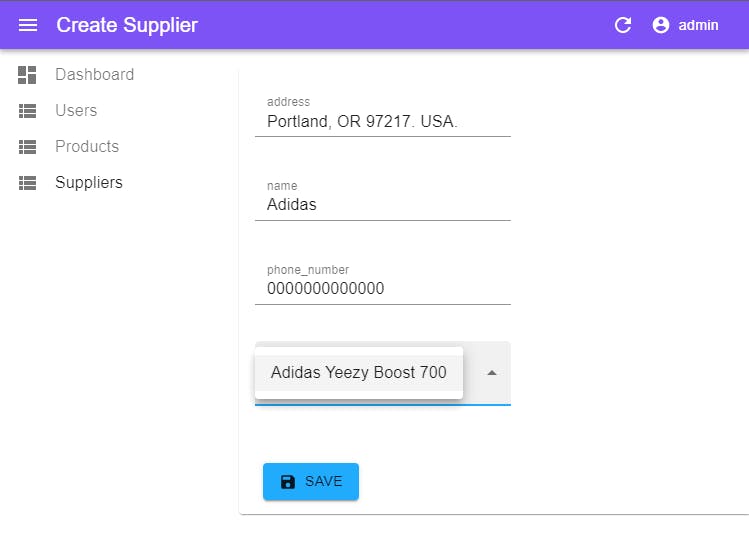
Let's see if the created product now exists in our system
 Boom! and just like that you have a functional system
Final Remarks
Hey guys I had fun writing this up and I hope it can go a long way in helping anyone learn backend development. This was part of my Hacktoberfest submission and I'm so proud of myself for learning this in such a short time.
I would like to send a very big thank you to the team at Amplication for the amazing work they do. You guys rock!
Special thanks to the EddieHub community and Kunal Kushwaha for encouraging us to contribute. I couldn't have done it without your support. That's all for now folks 👋🏾
